How to Take a Before and After Photo
Published
Quick answer
To take a before and after photo, shoot both photos from the same spot, height and distance, with matching lighting and pose, then compare them side by side or as an animated before and after reveal.
Key takeaways
- Shoot from the same spot, height and distance every time so the photos line up.
- Match the lighting — mixed indoor light makes two photos look inconsistent even when nothing else changed.
- Repeat the same pose, framing and clothing (or lack of it) for a fair comparison.
- Chisel can export a before/after pair as an animated reveal for sharing.
- A tripod, shelf or propped phone beats handheld for a repeatable angle.
Knowing how to take a before and after photo comes down to matching every variable except the one you're tracking: same spot, same camera height, same lighting and the same pose, repeated exactly both times.
What makes a before and after photo actually comparable?
Two photos only tell a real story if the setup behind them is identical. Change the distance, the light, or the pose, and you're comparing the shot, not anything else.
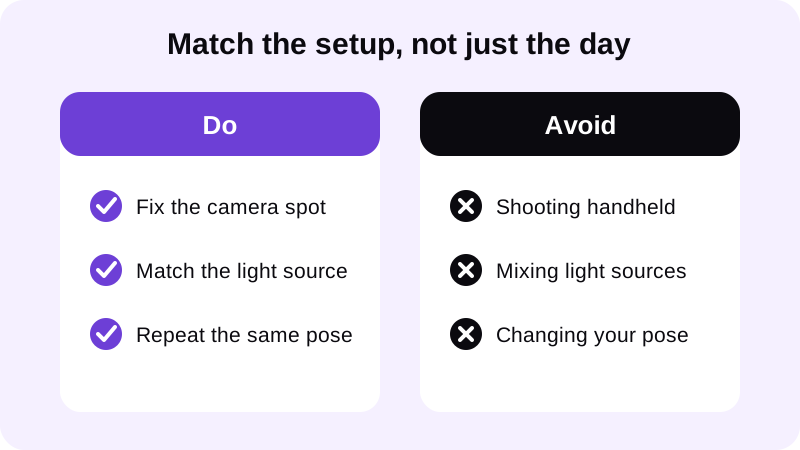
Think of it like a lab test: you're trying to isolate one variable. If the camera moves closer, the subject looks bigger. If the light shifts from a window to an overhead bulb, shadows fall differently and skin tone changes. None of that is about the body in the photo — it's about the photo itself, and small inconsistencies like these are the most common reason a comparison looks misleading even when nothing else has changed.
For full-body comparisons specifically, framing matters just as much as lighting. See how to take a full body photo that looks sharp for how to keep your whole frame in the shot without distortion creeping in at the edges.
How do you set up the shot step by step?
A repeatable setup takes a few minutes to build once, and then it's just a matter of standing in the same spot each time you shoot.
- Pick one spot with consistent light — near a window at the same time of day works better than a room with mixed lamps and overhead bulbs.
- Mark the camera position. A shelf, tripod, or even a strip of tape on the floor keeps the height and distance identical next time.
- Use a self-timer or a remote shutter instead of holding the phone — handheld shots shift the angle without you noticing.
- Stand in the same spot, facing the same direction, with the same amount of space around you in the frame.
- Repeat the pose exactly: same foot stance, same arm position, same expression. Flexing in one photo and relaxing in the other skews the comparison.
- Shoot both photos — or every photo in the series — from that same checklist, not just "close enough."
Posture matters here too — a slouched stance in one photo and a straight one in the other will read as a bigger difference than anything else in the frame, even though nothing about the underlying setup actually changed. If that's a recurring issue, fixing posture in a photo is worth sorting out before you lock in your pose for the series.
How do you keep the comparison honest when you edit?
If you plan to edit either photo in the pair, apply the same approach to both, or skip editing the comparison shots entirely — a comparison only means something if the editing is consistent on both sides.
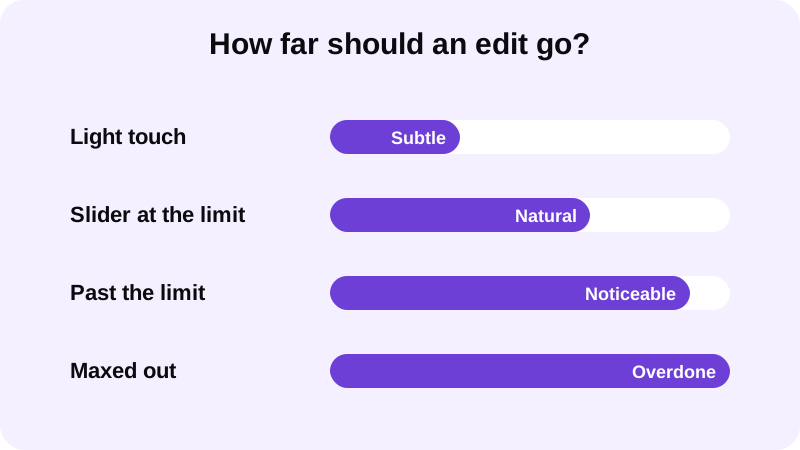
Chisel's Shoulders and Waist sliders build a V-taper, and the Abs and Muscle sliders add a gentle fullness to the torso — each one shows a natural limit marked in green so the result still looks like the person in the photo. If you want six-pack or muscle definition added to a photo, that comes from the optional AI Transform, which sends the photo to a cloud provider and asks first before anything happens, and includes a limited number of free uses. Chisel's pose detection finds the torso automatically, so there's no manual masking required on either photo in your pair, which makes it easier to apply the same edit twice without extra effort.
If you're editing a shirtless comparison shot, start with a clear, well-lit photo of your torso — see how to take a good shirtless photo for setup details that apply just as well to a before/after pair as they do to a single shot.
How do you share a before and after photo without it looking misleading?
Chisel can export a before/after pair as an animated reveal, a format built specifically for sharing two photos as one swipe or fade transition rather than a static side-by-side image.
That reveal format is a presentation choice, not a shortcut around matching the two shots properly — the underlying photos still need the same spot, light and pose to hold up on their own. If AI Transform was used on either photo, Chisel writes an AI-altered label into that photo's metadata, so the edit stays disclosed rather than hidden inside a polished comparison. That disclosure matters more in a before/after pair than in a single photo, since the whole point of the format is a direct, side-by-side comparison between two moments.
For more on what the app's tools do and don't touch, see what Chisel AI is and how it works. None of its tools edit your face — no jawline, eye, teeth or beard changes — so any difference between your two photos comes from setup, pose and the body-focused sliders, not a reshaped face or retouched skin.
What's a simple checklist before you shoot?
- Same spot, same height, same distance from the camera.
- Same light source and time of day.
- Same pose, same framing, same amount of space around you.
- Same editing approach on both photos, or none at all.
- Export as a reveal if you're sharing the pair, so the comparison reads as one piece rather than two mismatched shots.
Get the setup right once and every future comparison photo takes seconds — stand in the spot, match the light, repeat the pose, and shoot with the same checklist you used the first time.
FAQ
What's the biggest reason before and after photos don't match?
Lighting and distance from the camera change more than people expect. A photo taken closer, or under warmer light, can look noticeably different even if nothing about the pose changed. Fix the spot and the light source first, before worrying about pose.
Should I use the same pose in both photos?
Yes. Standing relaxed in one photo and flexing in the other makes the comparison meaningless. Pick one pose — arms slightly away from the body, same foot stance — and repeat it exactly each time you shoot.
Can Chisel edit both photos in a before and after pair?
Chisel's sliders and AI Transform can be applied to either photo, but the tool doesn't retouch your face. Apply edits consistently, or not at all, so the comparison itself stays honest rather than distorted on one side.
What's the best way to share a before and after photo?
Chisel can export the pair as an animated before/after reveal, a format built for sharing that swipes or fades between the two shots. It's a presentation style, not an editing shortcut — the two photos underneath still need to match.
Does editing a before and after photo count as cheating?
Not if you're upfront about it. Chisel writes an AI-altered label into a photo's metadata whenever AI Transform is used, so edited photos stay disclosed rather than passed off as untouched comparisons.